Objective:
Create a thumbnail of a given website URL, in a backend context.
Implementation:
We'll be using nodeJS and Puppeteer to achieve this objective.When I tried to do this the first time, I had some issues and I ended up having to install chrome manually.
You might skip this step, but remember to come here later if something doesnt work.
So to install chrome, on the command line do:
sudo apt-get install chromium-browser
Begin by creating a project folder, and then instancing a new node project:
npm init -y
Add the puppeteer package to your project:
npm i puppeteer
Create the main file for the project and open a code editor:
touch main.js
code .
Here is the code you can copy paste into main.js:
/**/// ## ################################################################## ##
const puppeteer = require('puppeteer');

/**/// ## ################################################################## ##
let options = {
  executablePath: '/usr/bin/chromium-browser'
};

/**/// ## ################################################################## ##
puppeteer.launch(options).then(async browser => {

  const page = await browser.newPage();
  page.on('request', msg => console.log('Requested URL: ', msg.url()));

  await page.goto('https://www.yahoo.com', {
    waitUntil: 'networkidle0'
  });

  await page.screenshot({
    // here you can set the output image path, file name and format:
    path: './screenshot.png'
  });

  await browser.close();

}, e => {
    console.error('Error: ', e);
})
Let's see what that code does. On line [3] we import the puppeteer package.
On lines [6-8] we define the options to pass onto puppeteer, and this is related to the problem I had where I needed to install chrome manually (see above). Due to that I pass the full path to chrome on the options. Make sure you pass the correct path in your code.
On line [11] puppeteer is launched. Line [14] prints out a log of requests made to the site, which you can define on line [16].
On line [17] we wait until there are no active network connections for at least 500 ms. This makes sure the site is fully loaded, and therefore ready for a screenshot to be taken.
Lines [20-23] export the screenshot. Here you can change the name and path of the exported screenshot to whatever you want.
Finally, we close the browser object [25], and the rest of this snippet deals with puppeteer errors [28].
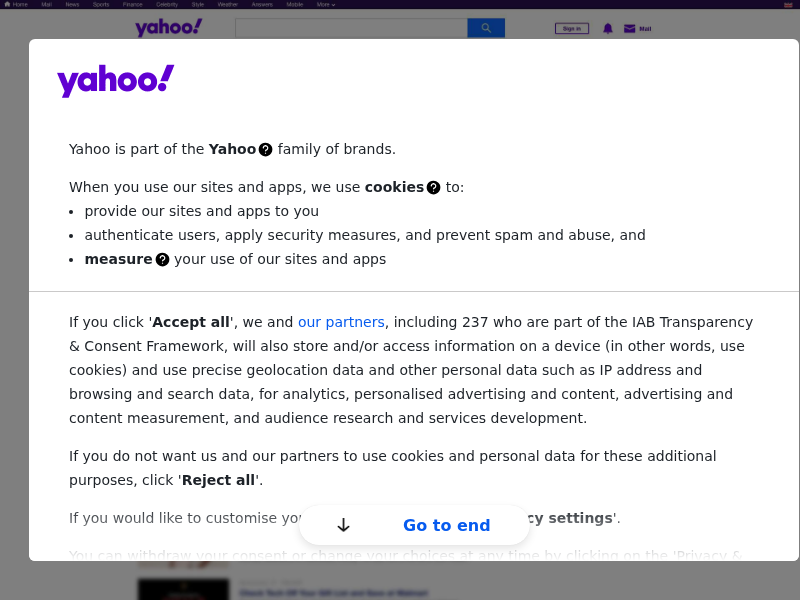
For me, I got this screenshot:
Conclusion:
This is my first article on the site but I still hope that you found it usefull. Please check the Links section for more information.Leave your thoughts, corrections, additions in the comments below. Thank you.
 HugoJustCode
Cookies
HugoJustCode
Cookies